
Almost every retail store has an opening and closing checklist somewhere. Often it is a laminated sheet behind the counter that nobody has looked at in months, while the real routine lives in the head of whoever has worked there longest. The result is predictable: lights left on, a register that does not balance, a back door that was never locked. A retail store opening and closing checklist only works if it is short, specific and built into the shift so staff actually follow it.
This guide shows you what belongs on each list, how to write items that leave no room for guessing, how to make the checklist part of the routine rather than an afterthought, and how to handle accountability without micromanaging. It ends with sample checklists you can adapt for your own store.
Why most checklists get ignored
Checklists fail for a few common reasons, and knowing them helps you design one that sticks:
- They are too long. Forty items on a page encourage skimming and box-ticking without doing the work.
- They are vague. “Clean the store” means different things to different people.
- They are in the wrong order. If the list does not match how people move through the store, they skip around and miss items.
- Nobody checks them. If a manager never reviews the completed list, staff learn that it does not matter.
- They never change. When the list includes tasks that no longer apply, staff stop trusting it.
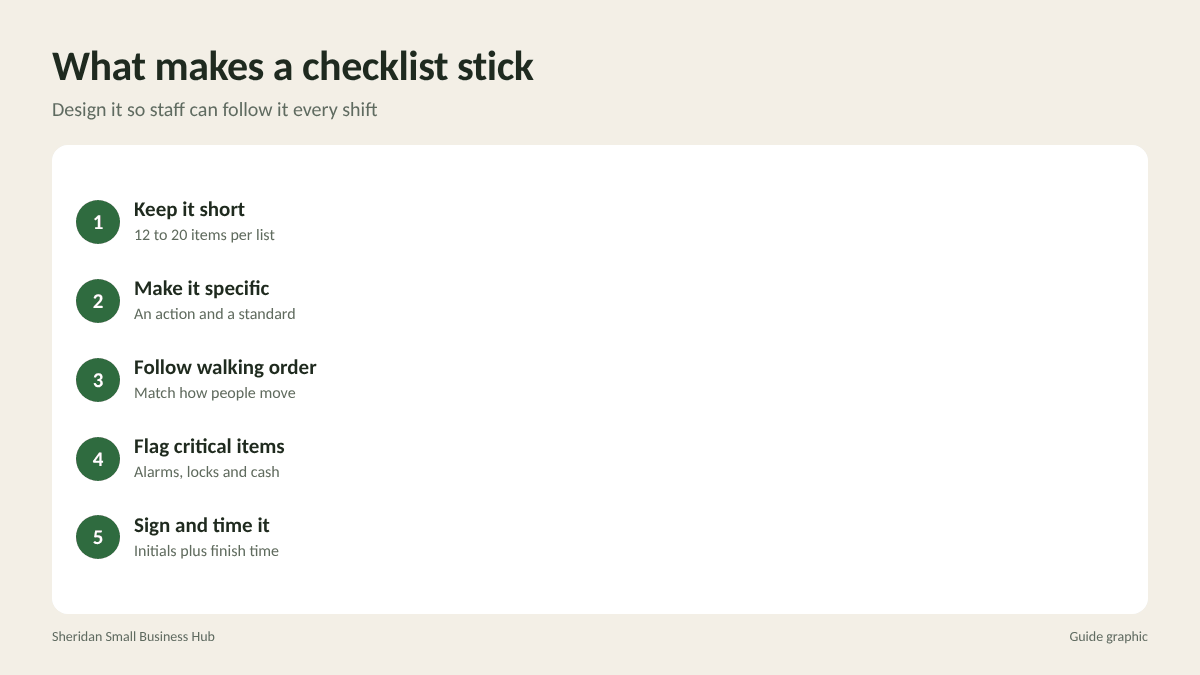
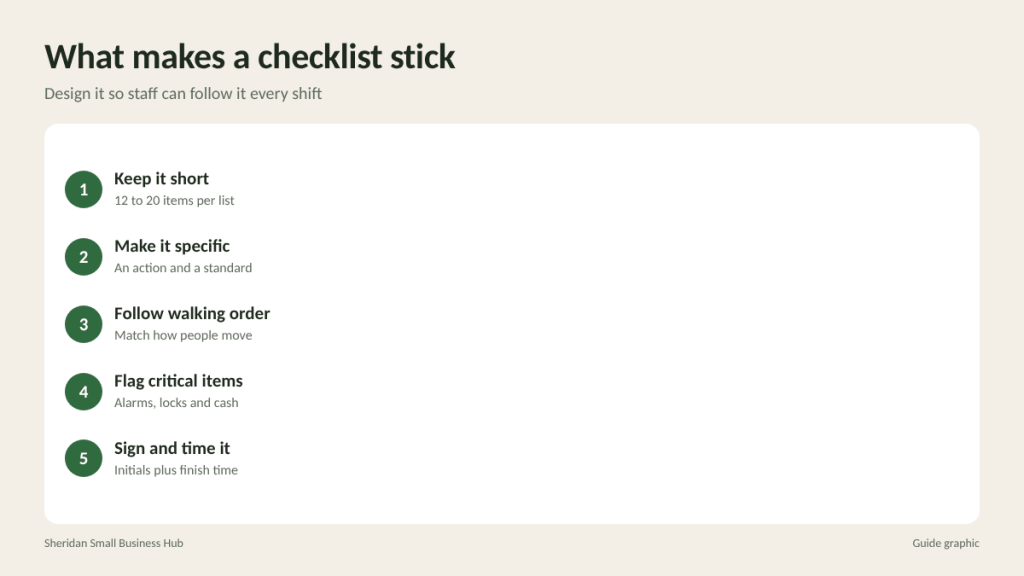
What makes a retail store opening and closing checklist work
Good checklists share a few traits:
- Short: aim for 12 to 20 items per list. Move occasional tasks, like deep cleaning or monthly inventory counts, to separate weekly or monthly lists.
- Specific: each item describes an action and a standard, such as “Count the drawer to the starting amount and record it on the cash sheet.”
- In walking order: arrange items in the sequence someone would naturally move through the store, starting at the entrance or back door.
- Critical items flagged: mark security and money tasks, such as alarms, locks and cash, so they stand out.
- Signed and timed: staff initial each item or section and write the time they finished.
Sample opening checklist
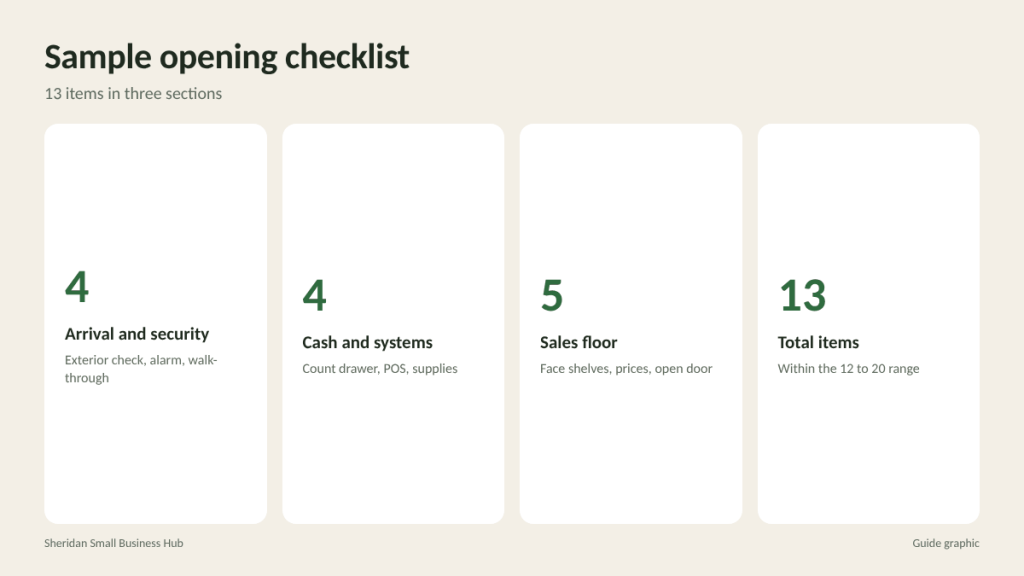
Adapt this to your store’s layout and systems.
Arrival and security
- Check the exterior for damage, broken glass or signs of entry before you go in.
- Enter, disarm the alarm and lock the door behind you.
- Turn on lights, music and HVAC.
- Walk the sales floor, restrooms and back room for leaks, spills or hazards.
Cash and systems
- Retrieve the cash drawer from the safe and count it to the starting amount; record on the cash sheet. (Critical)
- Turn on and log in to the POS, card readers and any scanners.
- Check that receipt paper, bags and pens are stocked at each register.
- Check email, voicemail and online orders for anything that needs action today.
Sales floor
- Face shelves and fill gaps from back stock.
- Check price tags and signs for the day’s promotions.
- Sweep or spot-clean the entrance, counters and fitting rooms.
- Set out any sidewalk sign or displays allowed by your lease.
- Open the front door at opening time and flip the sign to open.
Sample closing checklist
Last 30 minutes
- Start recovering the sales floor: refold, rehang and face shelves.
- Restock high-traffic areas for the next morning.
- Empty trash bins on the sales floor and at registers.
After the last customer
- Lock the front door and flip the sign to closed.
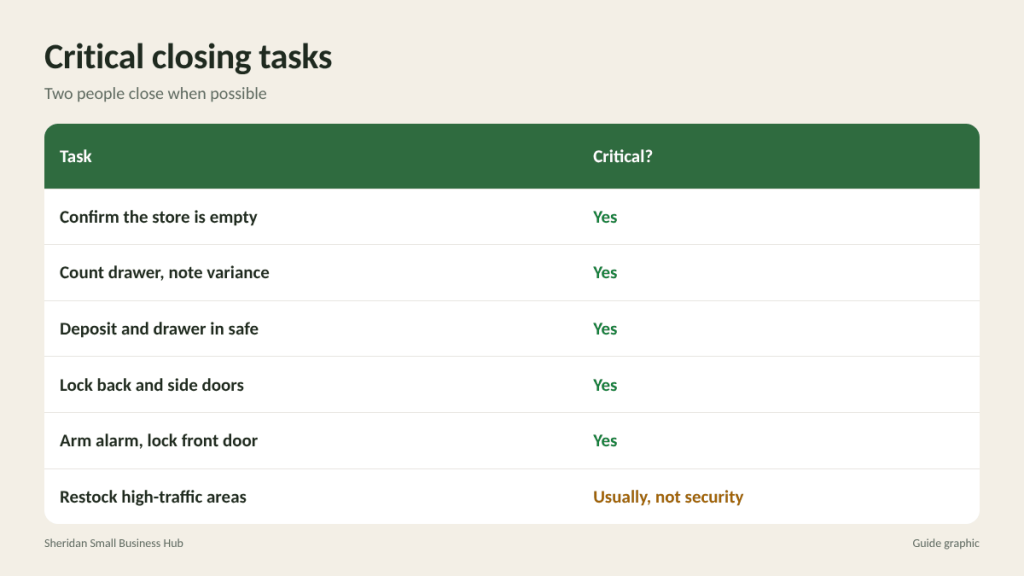
- Check fitting rooms, restrooms and back rooms to make sure nobody is still in the store. (Critical)
- Run the end-of-day report on the POS.
- Count the drawer with a second person if possible, and record totals and any variance on the cash sheet. (Critical)
- Prepare the deposit and place it and the drawer in the safe. (Critical)
- Shut down or lock POS terminals and card readers.
Shutdown and security
- Sweep and clean counters, floors and restrooms.
- Check that the back door and any side doors are locked. (Critical)
- Turn off lights, music and equipment; set HVAC to the after-hours setting.
- Arm the alarm and lock the front door. (Critical)
- Check the door from outside before leaving.
That gives you 13 opening items and 14 closing items, which is within the 12 to 20 range.
Make it part of the routine
Put the list where the work happens
A clipboard at the register, a laminated sheet by the back door or a checklist on a shared tablet all work. The key is that staff should not have to look for it. For paper lists, print a fresh copy for each shift and file the completed ones for a few weeks.
Train with the list, not around it
When training a new employee, have them open or close using the checklist while you observe. They should read each step and do it. That builds the habit from day one and shows you where items are unclear.
Use a two-person close when possible
Having two people close the store is safer and makes cash counts more reliable. If you must close with one person, keep the critical security items at the top of their attention, and make sure they can contact a manager.
Accountability without micromanaging
- Review lists regularly. A manager should glance at completed checklists daily at first, then a few times a week once habits are set.
- Address misses privately and quickly. Ask what got in the way. Often a missed item reveals a problem with the list itself or with timing.
- Recognize consistency. Thank staff who close cleanly every night. People repeat what gets noticed.
- Ask staff to improve the list. The people who use it every day know which items are confusing or out of date.
Weekly and monthly lists for everything else
The secret to a short daily checklist is moving everything that does not happen every day onto separate lists. Otherwise, staff see “clean the light fixtures” every night, skip it, and start skipping other items too.
Weekly tasks
- Deep clean fitting rooms, restrooms and the break area
- Check and reorder register supplies, bags and cleaning products
- Dust shelves and fixtures
- Review the lost-and-found and any customer holds
- Test the emergency lights and check that exits are clear
Monthly tasks
- Change window displays or seasonal signage
- Check fire extinguishers and first aid kit supplies
- Count high-value or high-theft inventory
- Review the opening and closing lists for outdated items
Assign each weekly and monthly task to a specific day or shift so it does not fall through the cracks. “Tuesday closer cleans fitting rooms” is far more reliable than “clean fitting rooms weekly.” Post these lists next to the daily checklists and use the same sign-off format.
Keep it current
Review both lists every few months or whenever something changes, such as a new POS system, a different alarm code process, a layout change or a new promotion routine. Remove items that no longer apply and update the date at the bottom of the sheet. A checklist that matches reality is one people trust.
Frequently asked questions
How long should a retail opening checklist be?
Around 12 to 20 items is a good target. Move occasional tasks to separate weekly or monthly lists.
Should staff sign the checklist?
Yes. Initials and a finish time create accountability and help you trace problems.
Is a digital checklist better than paper?
Either works. Digital lists are easy to review remotely; paper lists are simple and need no device. Pick what your team will use.
What are the most important closing tasks?
Securing cash, confirming the store is empty, locking every door and arming the alarm.
Printing fresh checklists every shift?
Keep clipboards, sheet protectors and paper stocked with office supplies from The Postal Spot near the Galleria, so your opening and closing lists are always ready.