
Filing cabinets fill up slowly and then all at once. One day the drawers will not close, the folder you need is wedged behind three years of old invoices, and someone suggests buying another cabinet. Before you do, it is worth learning how to purge old files office-wide in a way that is quick, safe and repeatable. A once-a-year purge frees up space, makes the files you keep easier to find and reduces the amount of sensitive information sitting in drawers anyone can open.
This guide gives you a step-by-step process for an annual filing cabinet purge: how to prepare, how to sort every folder into keep, archive, scan or destroy, how to handle sensitive documents, and how to set up your files so next year’s purge takes half the time. Plan on a focused half day for a typical small office, longer if it has been several years.
Before you start: set the rules
The biggest time sink in a file purge is deciding, folder by folder, whether something is safe to throw away. Make those decisions once, before you open a drawer.
Write a simple retention list
List the main types of records your business keeps and how long you will keep each. Common examples include tax returns and supporting records, payroll and employee files, contracts and leases, client or customer files, vendor invoices, bank statements and insurance policies. For tax-related records, the IRS ties retention to the period during which a return can be reviewed, which is generally 3 years but longer in some situations; many businesses keep supporting records for 7 years as a simple rule. Ask your accountant and, if you are in a regulated field such as healthcare, finance or law, check your industry’s requirements.
Check for holds
Make sure nothing you plan to destroy is related to an open audit, lawsuit, insurance claim, warranty or loan application. If there is any doubt about a specific folder, set it aside rather than destroying it.
Gather your supplies
- Four clearly labeled boxes or bins: Keep, Archive, Scan and Shred
- A separate small bin for plain recycling (blank paper, marketing brochures, envelopes with no personal details)
- New folders, labels and a label maker or marker
- Sticky notes for questions
- Gloves if the files are dusty or old
How to purge old files office-wide in seven steps
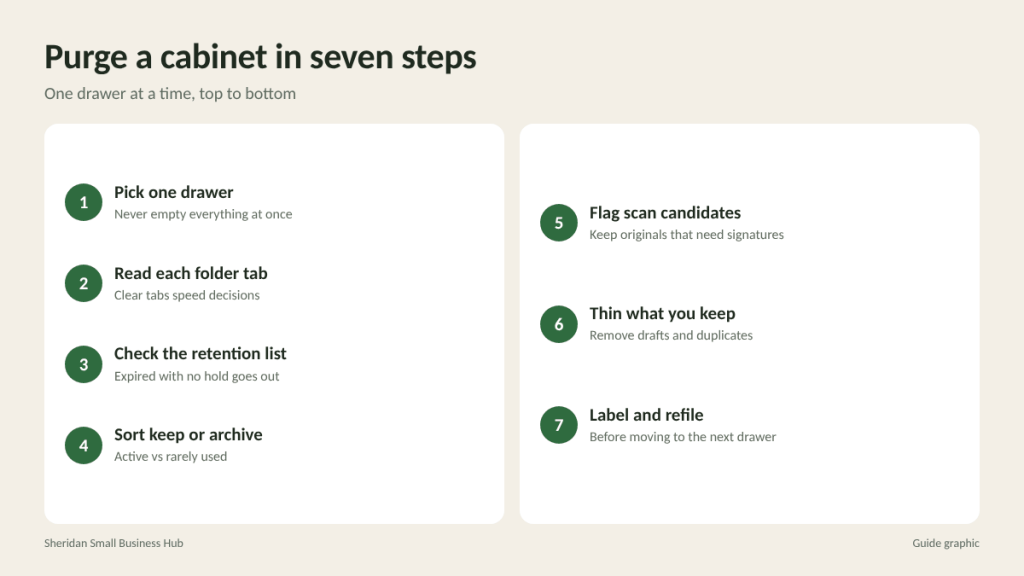
- Pick one cabinet or drawer at a time. Emptying everything onto the floor at once leads to chaos. Work top drawer to bottom, one cabinet at a time.
- Pull each folder and read the tab. If the tab is clear, such as “Vendor invoices 2017,” you can usually decide without opening it.
- Check the date against your retention list. If its retention period has passed and no hold applies, it goes to Shred or Recycle.
- Decide where current records belong. Active files you use often go to Keep. Records you must retain but rarely touch go to Archive.
- Flag scanning candidates. Documents you must keep but want out of the cabinet, such as old contracts or paid invoices still in their retention period, go to Scan.
- Thin the folders you keep. Remove duplicates, drafts, sticky notes and printed emails that exist elsewhere.
- Label and refile. Put Keep folders back in a logical order with fresh labels before you move to the next drawer.
Sorting guide: keep, archive, scan or shred
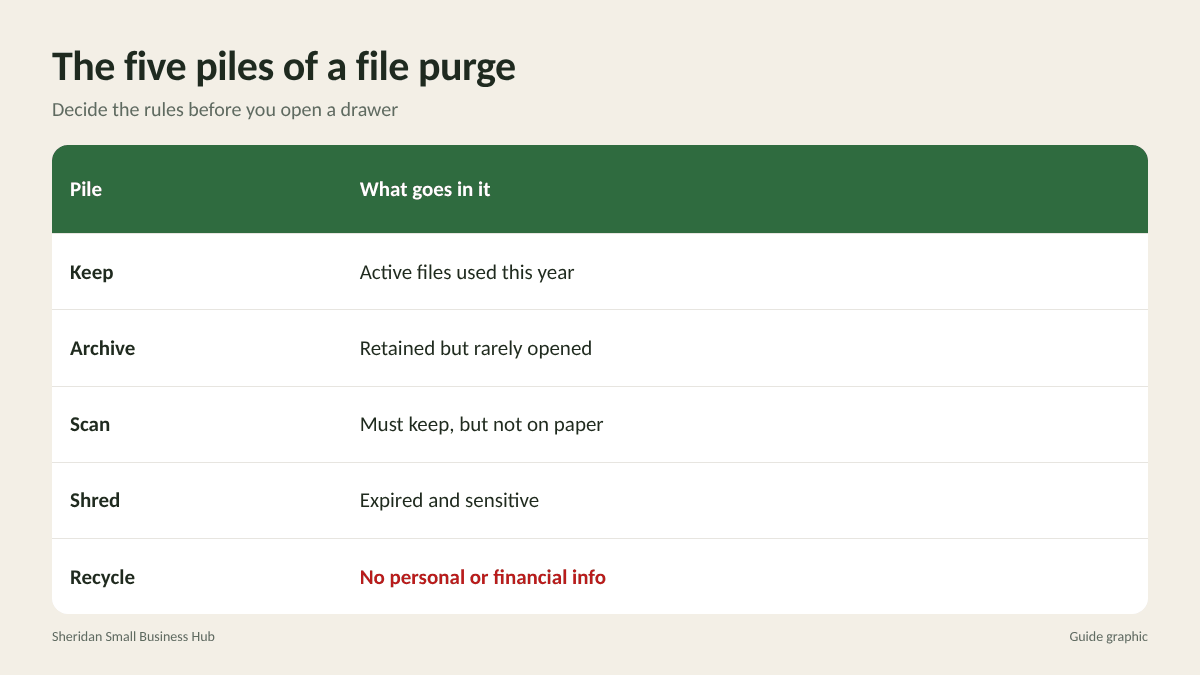
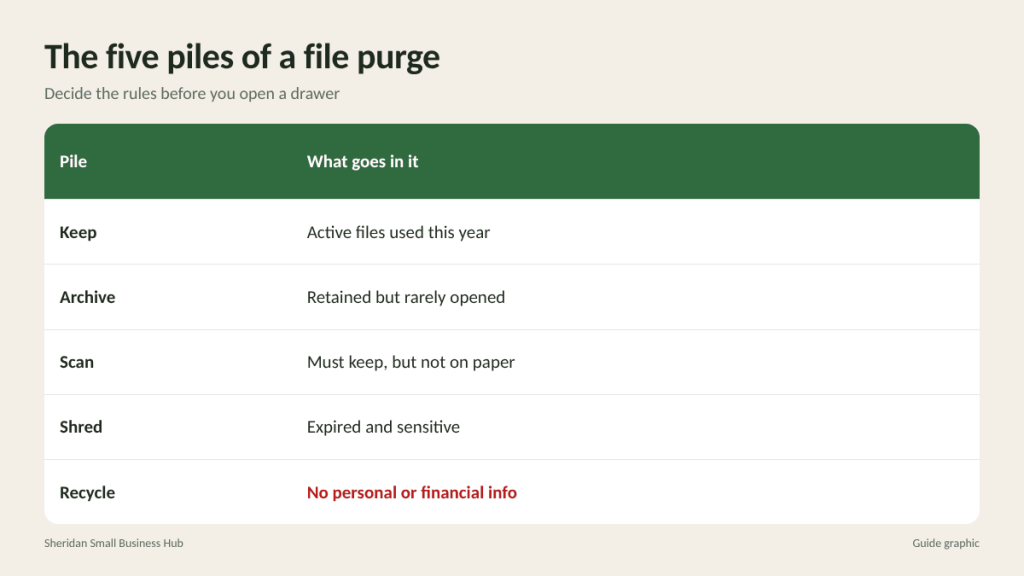
Keep (active files)
Anything you have used in the last year or expect to need soon: current client files, open contracts, this year’s financial records, current employee files, active vendor agreements and insurance policies in force.
Archive (retain but rarely used)
Records still within their retention period that you rarely open, such as prior years’ tax support documents or closed client files. Box them by year and category, and write a destroy-after date on the outside of each box. Store archive boxes off the floor, away from water heaters and windows.
Scan (keep digitally)
Records you need to keep but would rather not store in paper form. Scan them clearly, name files consistently (for example, “2023_Invoices_VendorName.pdf”), and back them up in two places. Keep original paper for anything that needs an original signature, seal or notarization. Once scans are verified and backed up, the paper copies of the rest can go to Shred.
Shred (sensitive and expired)
Any expired record that contains personal or financial information. This includes:
- Anything with Social Security numbers, tax ID numbers or dates of birth
- Bank and credit card statements, canceled checks and deposit slips
- Payroll records, W-2s, W-4s and employee files
- Customer records with names, addresses, phone numbers or account details
- Contracts, pricing sheets and anything you would not want a competitor to see
- Medical, legal or insurance documents
Recycle (no sensitive information)
Blank paper, old marketing materials, catalogs, generic newsletters and envelopes without names or addresses. When in doubt, shred it.
Handling the shred pile safely
A purge often produces more paper than an office shredder can handle comfortably. Small shredders overheat after a few minutes of continuous use and need staples and clips removed, which slows things down. Think about volume before you start:
- A few folders: an office cross-cut or micro-cut shredder is fine.
- A few boxes or more: a professional shredding service is usually faster and avoids burning out your machine.
Until the paper is destroyed, keep the shred boxes in a locked room or closet. A box of old payroll files sitting in a hallway is a risk. If you use a service, ask for a confirmation or receipt that the documents were destroyed and keep it with your records.
Set up your files so next year is faster
The purge is a good moment to fix the filing habits that caused the buildup. A few changes make a big difference:
- File by year within each category. “Invoices / 2026” is much easier to purge than one thick “Invoices” folder covering a decade.
- Put the destroy-after date on the folder tab when you create it.
- Use a different color for permanent records, such as formation documents, filed tax returns and property records, so nobody purges them by mistake.
- Go digital at the source. Ask vendors and banks for electronic statements to stop new paper from arriving.
- Schedule the purge. Put it on the calendar at the same time each year, for example right after you file taxes or in the slow week after the holidays.
A sample half-day plan
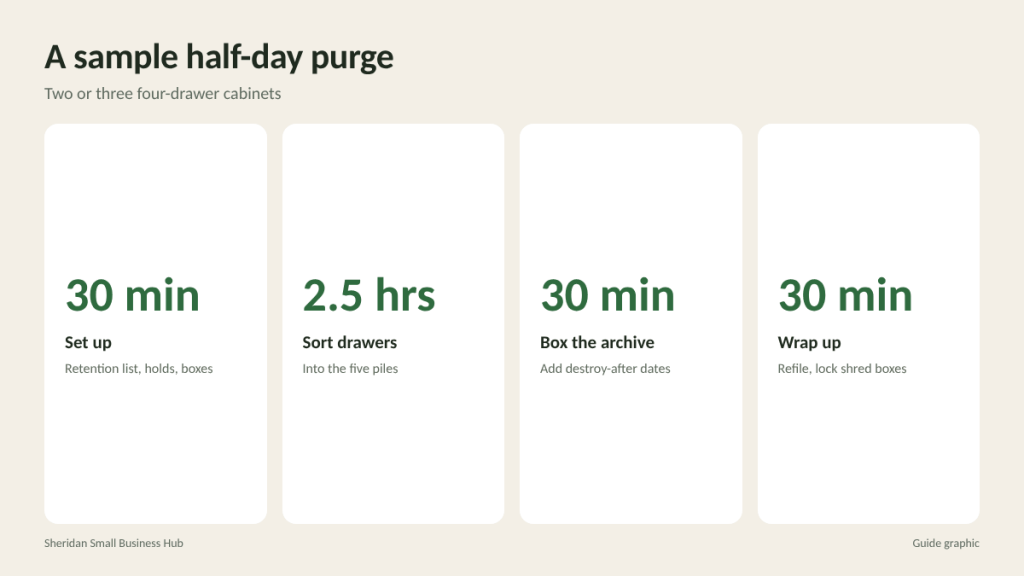
For a small office with two or three four-drawer cabinets, a realistic plan looks like this:
- First 30 minutes: confirm the retention list, check for holds and set up boxes.
- Next 2.5 hours: work through cabinets drawer by drawer, sorting into the five piles.
- Next 30 minutes: box and label archive files with destroy-after dates.
- Final 30 minutes: refile the Keep folders, lock up the shred boxes and schedule scanning and shredding.
That adds up to 30 + 150 + 30 + 30 = 240 minutes, or 4 hours. If you are purging several years of buildup, plan for two sessions instead of one long day.
Frequently asked questions
How often should a small office purge files?
Once a year is enough for most offices. Pick a fixed time, such as after tax season, so it becomes routine.
Can I throw old business files in the recycling?
Only if they contain no personal, financial or confidential information. Anything with names, account numbers or pricing should be shredded.
What files should never be purged?
Formation documents, filed tax returns, ownership records, property and major asset records, and anything subject to an open audit, claim or legal matter.
Do I need to remove staples before shredding?
Many office shredders require it. Many professional shredding services accept paper with staples and small clips, which saves a lot of time on large purges; ask before you go.
Ended up with a mountain of paper?
Bring your purge boxes to The Postal Spot’s walk-in shredding service in Houston and have sensitive files destroyed in one trip.